
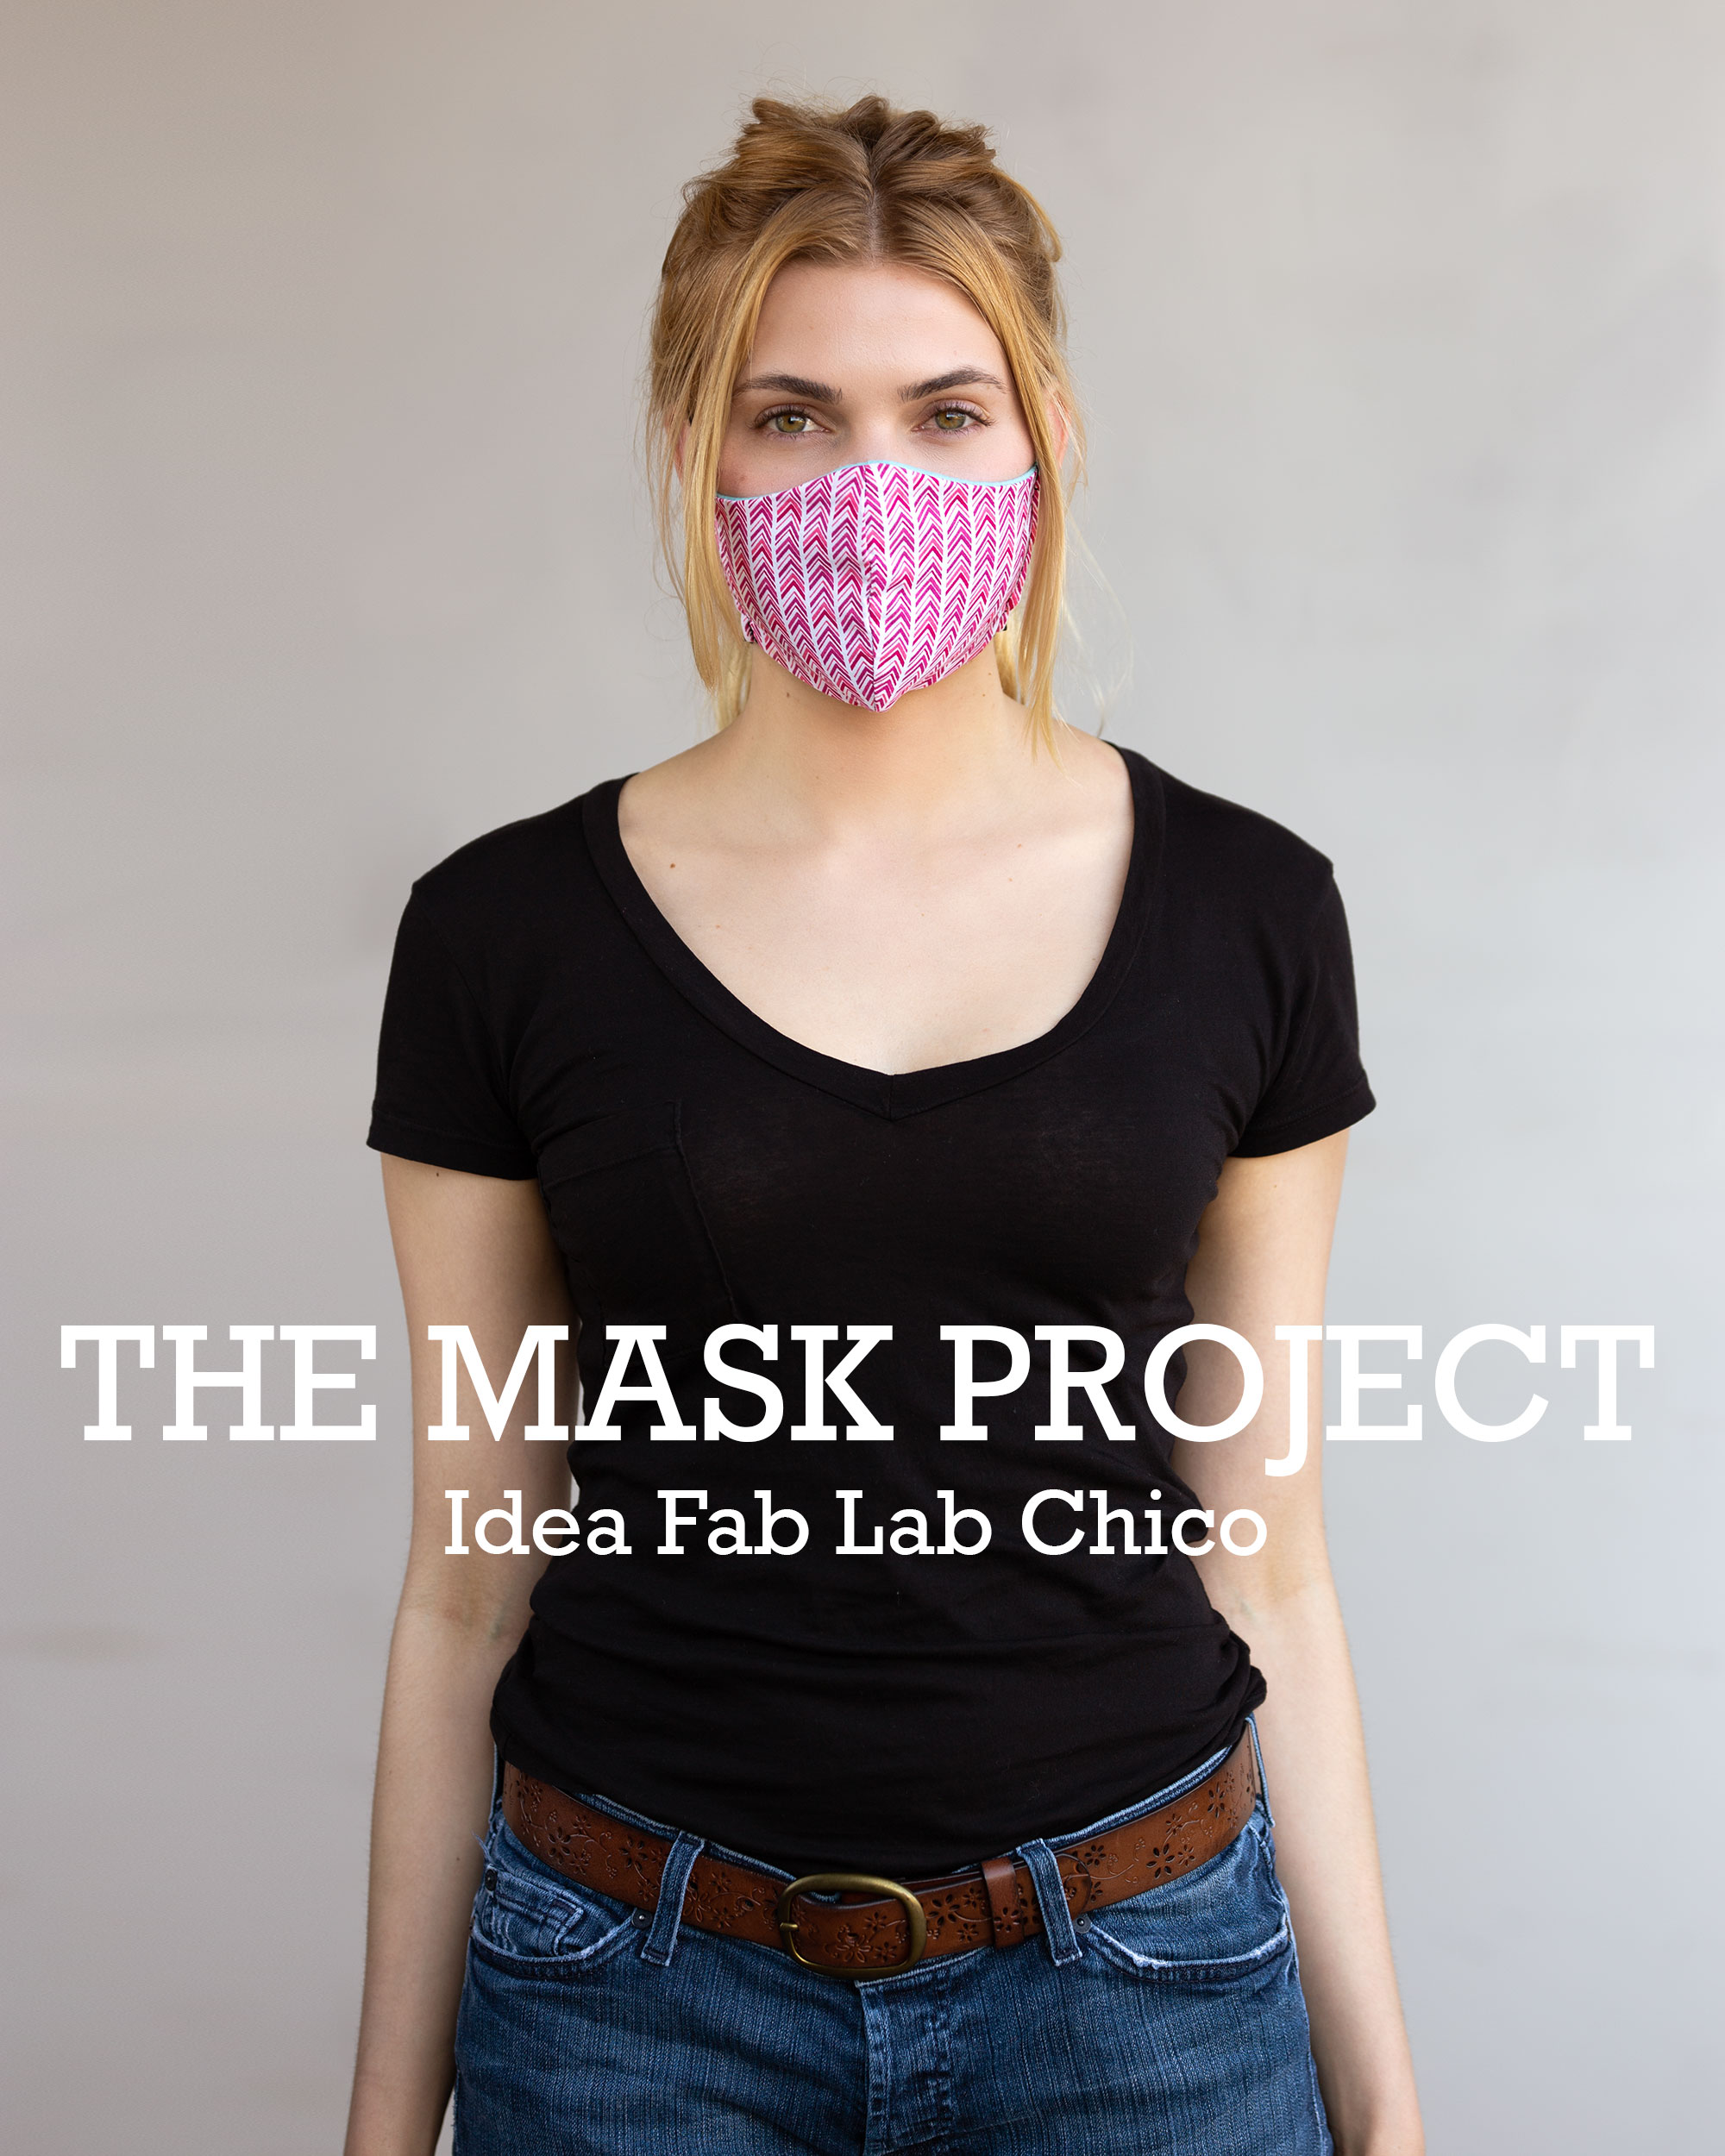
DIY Face Mask Instructions
Learn how to make a Face Mask at home.
Download a PDF of the pattern and print it out on your home printer. If you have access to a laser cutter, you can download the DXF file and cut hundreds of masks a day!
Each Kit comes with:
- Pre-cut fabric panels x4
- Inner flannel pieces x2
- Outer cotton pieces x2
- 7 inch elastic strap x2
- Assembly Instructions
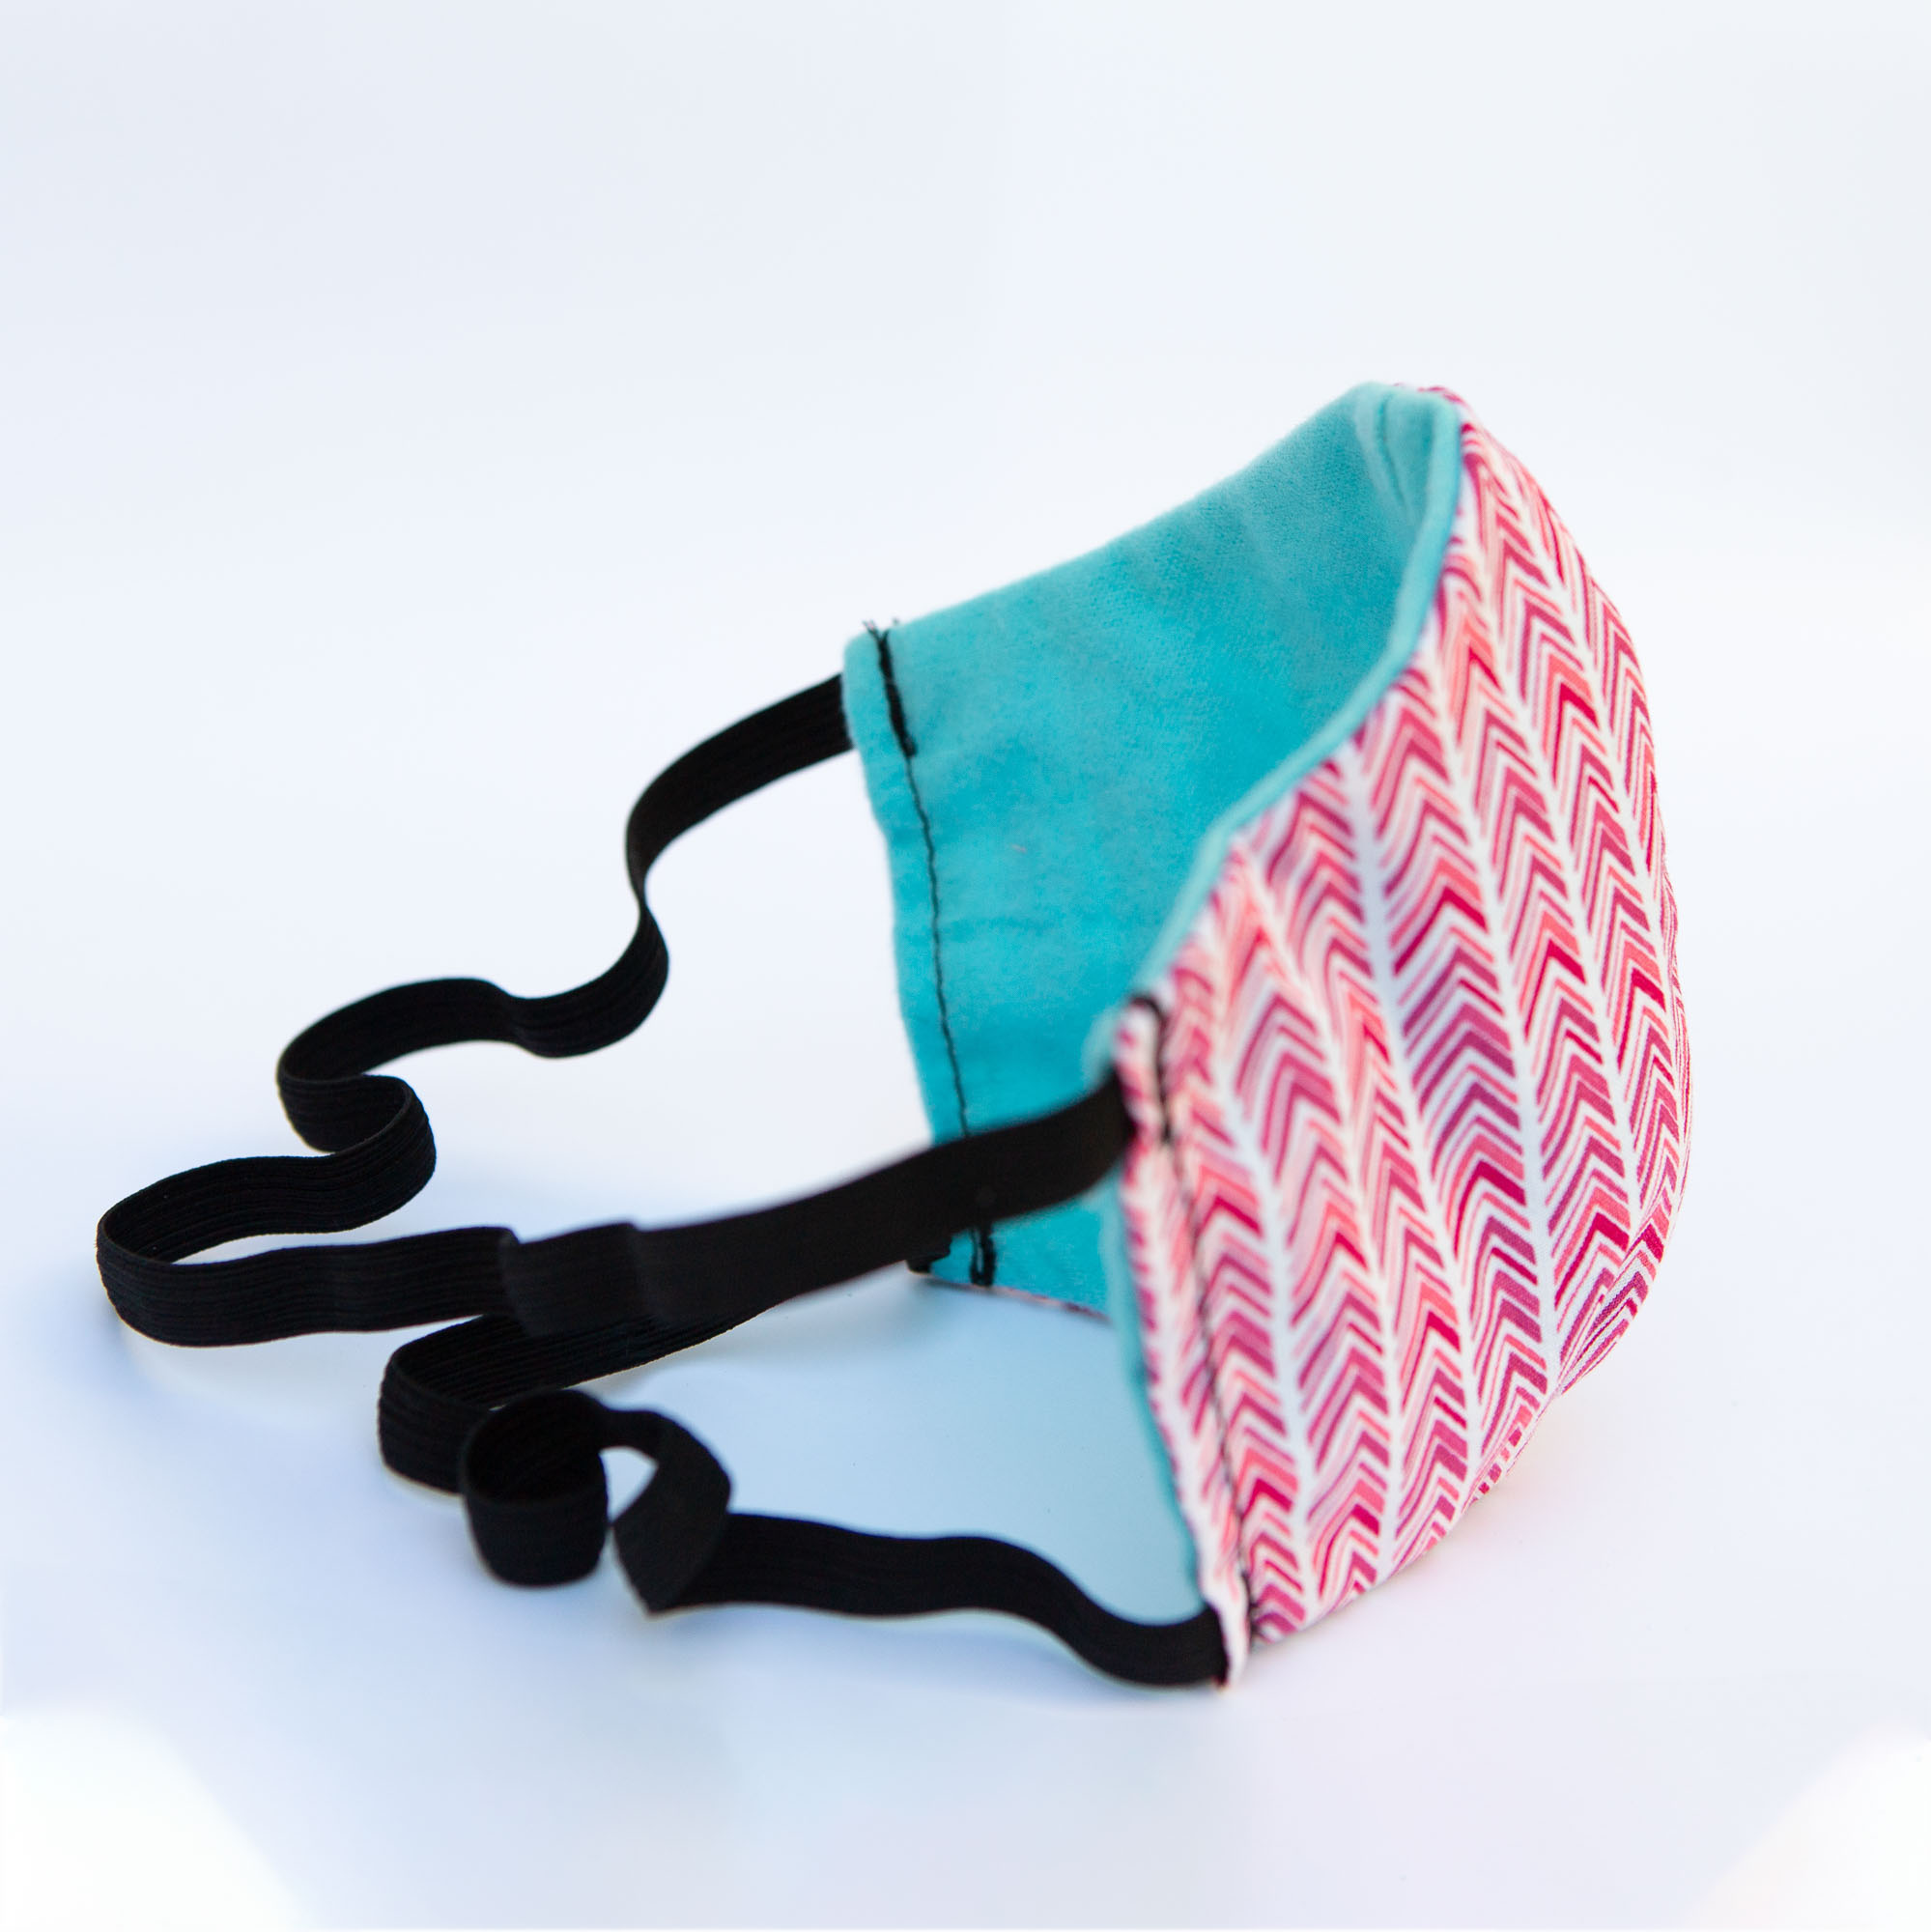
- Made of 2 layers of 100% cotton with a flannel inner liner for softness against the face
Face Masks
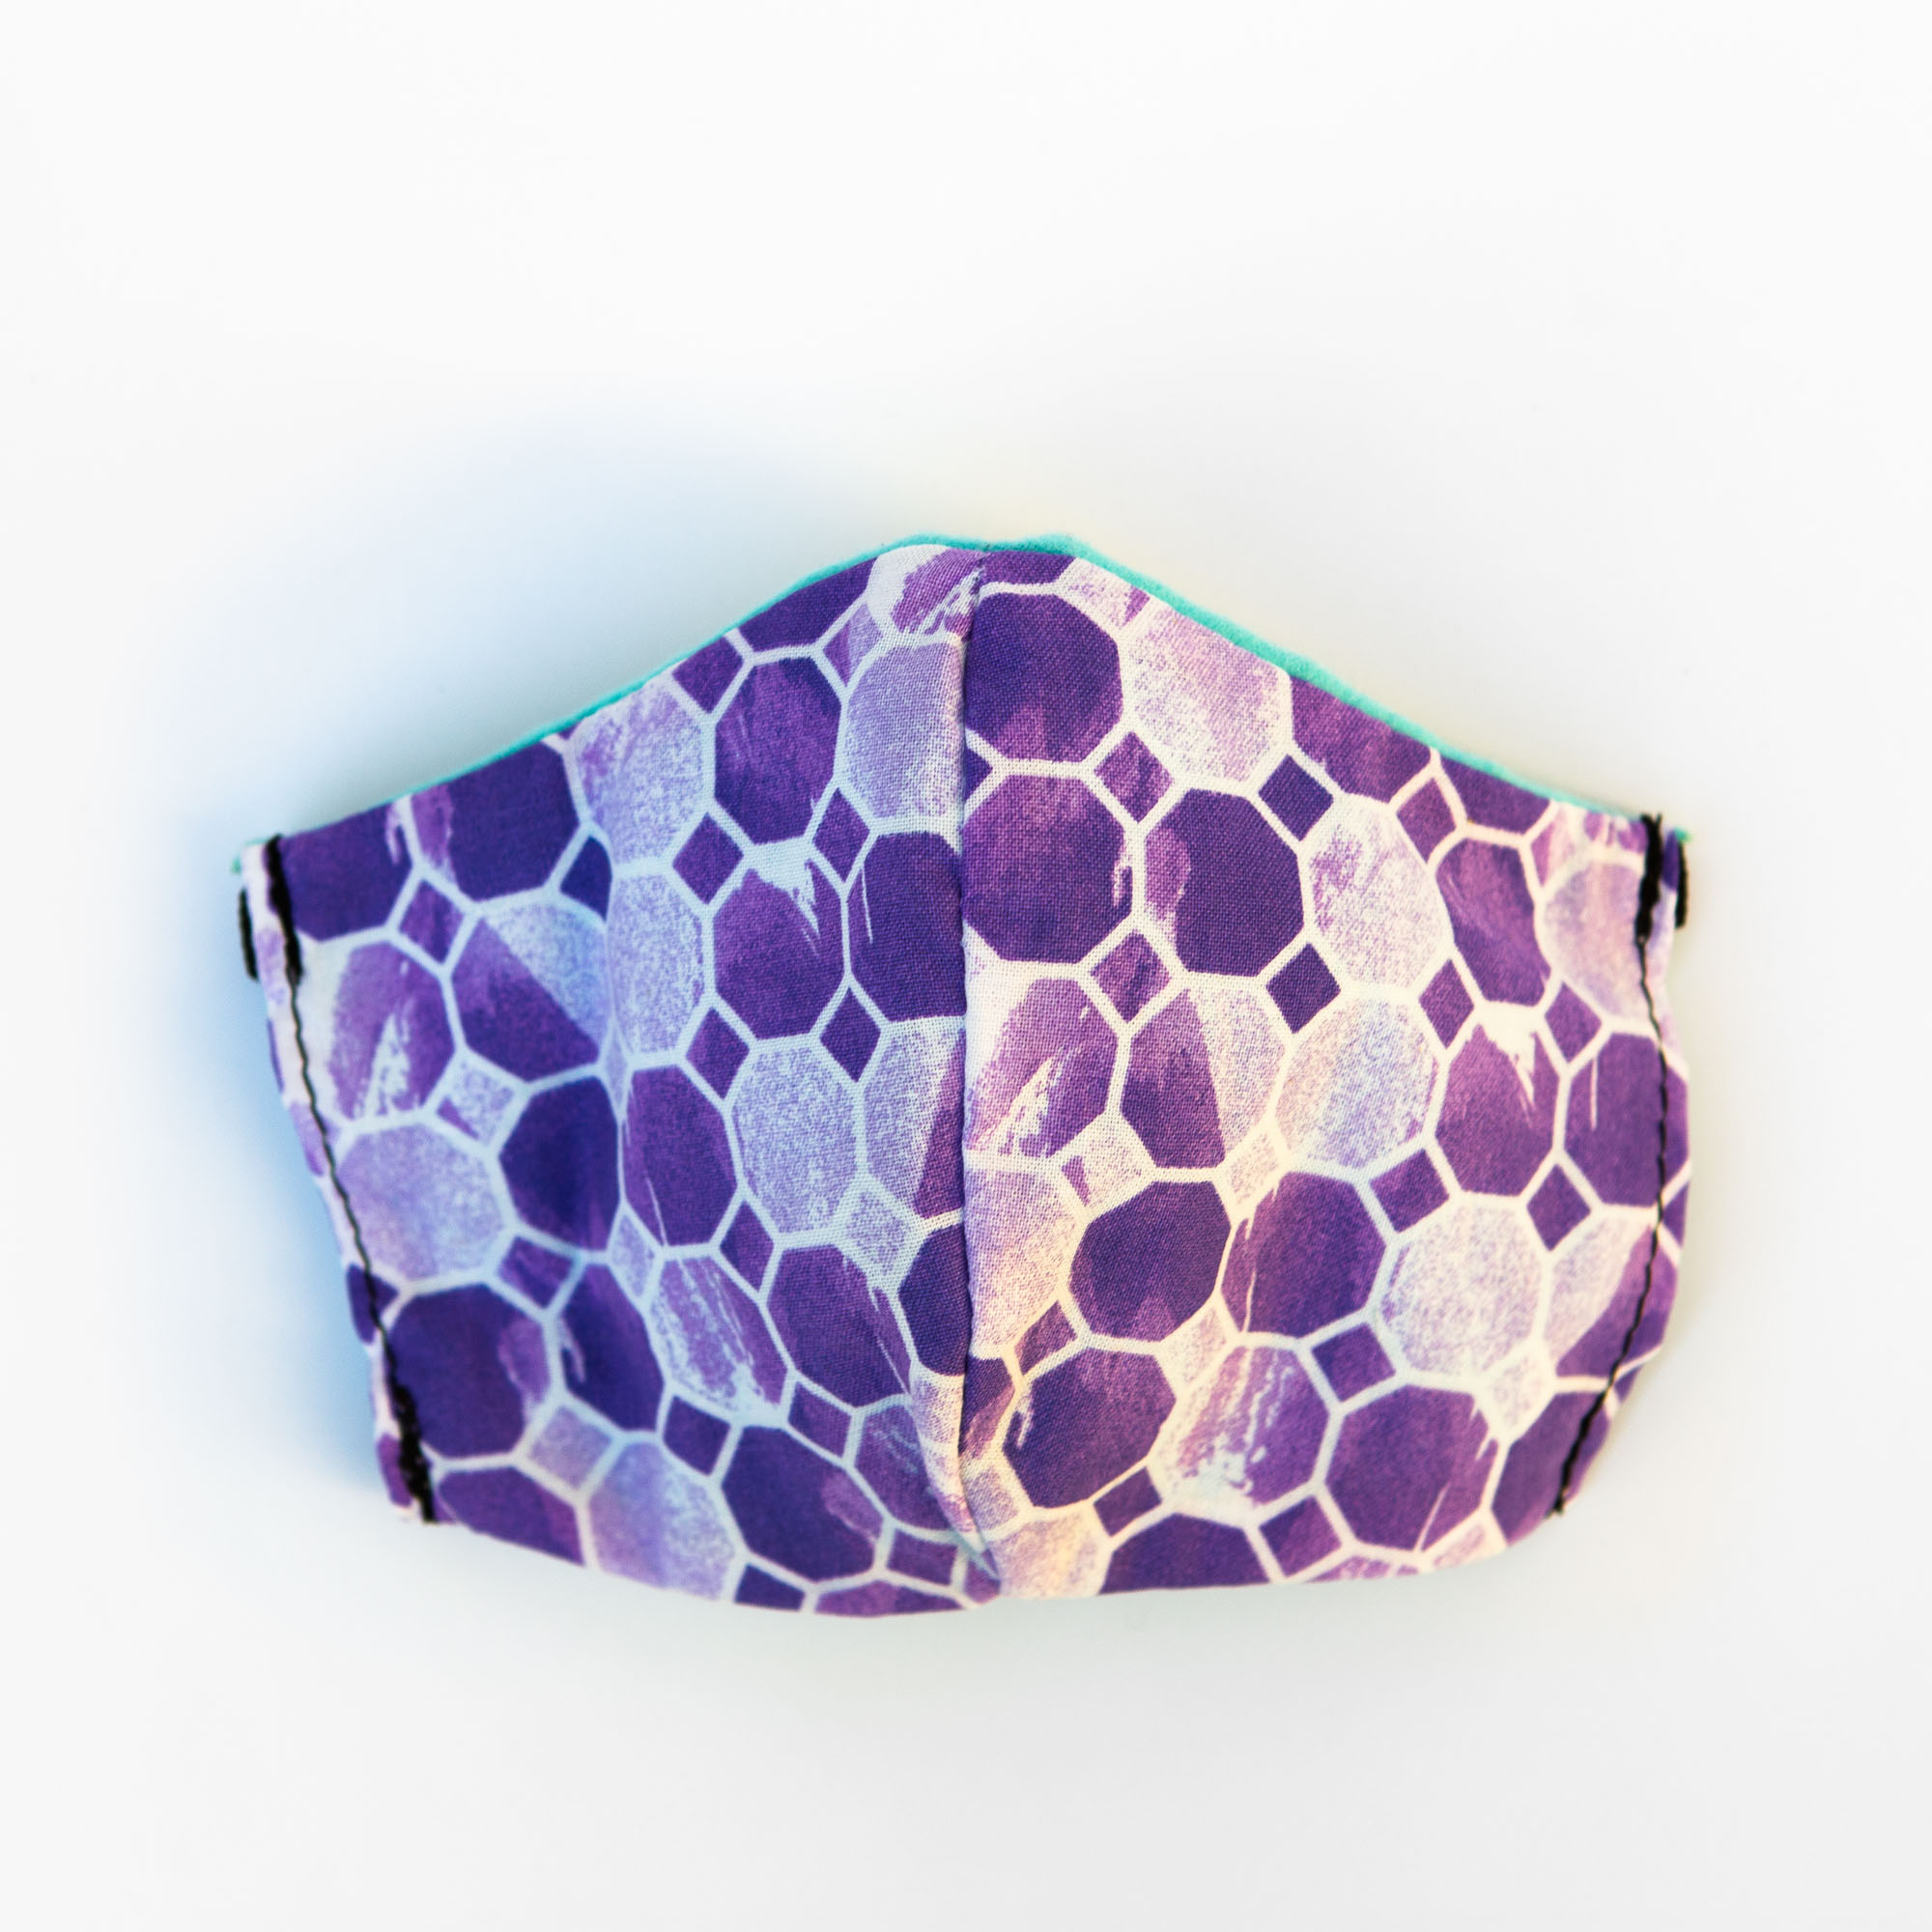
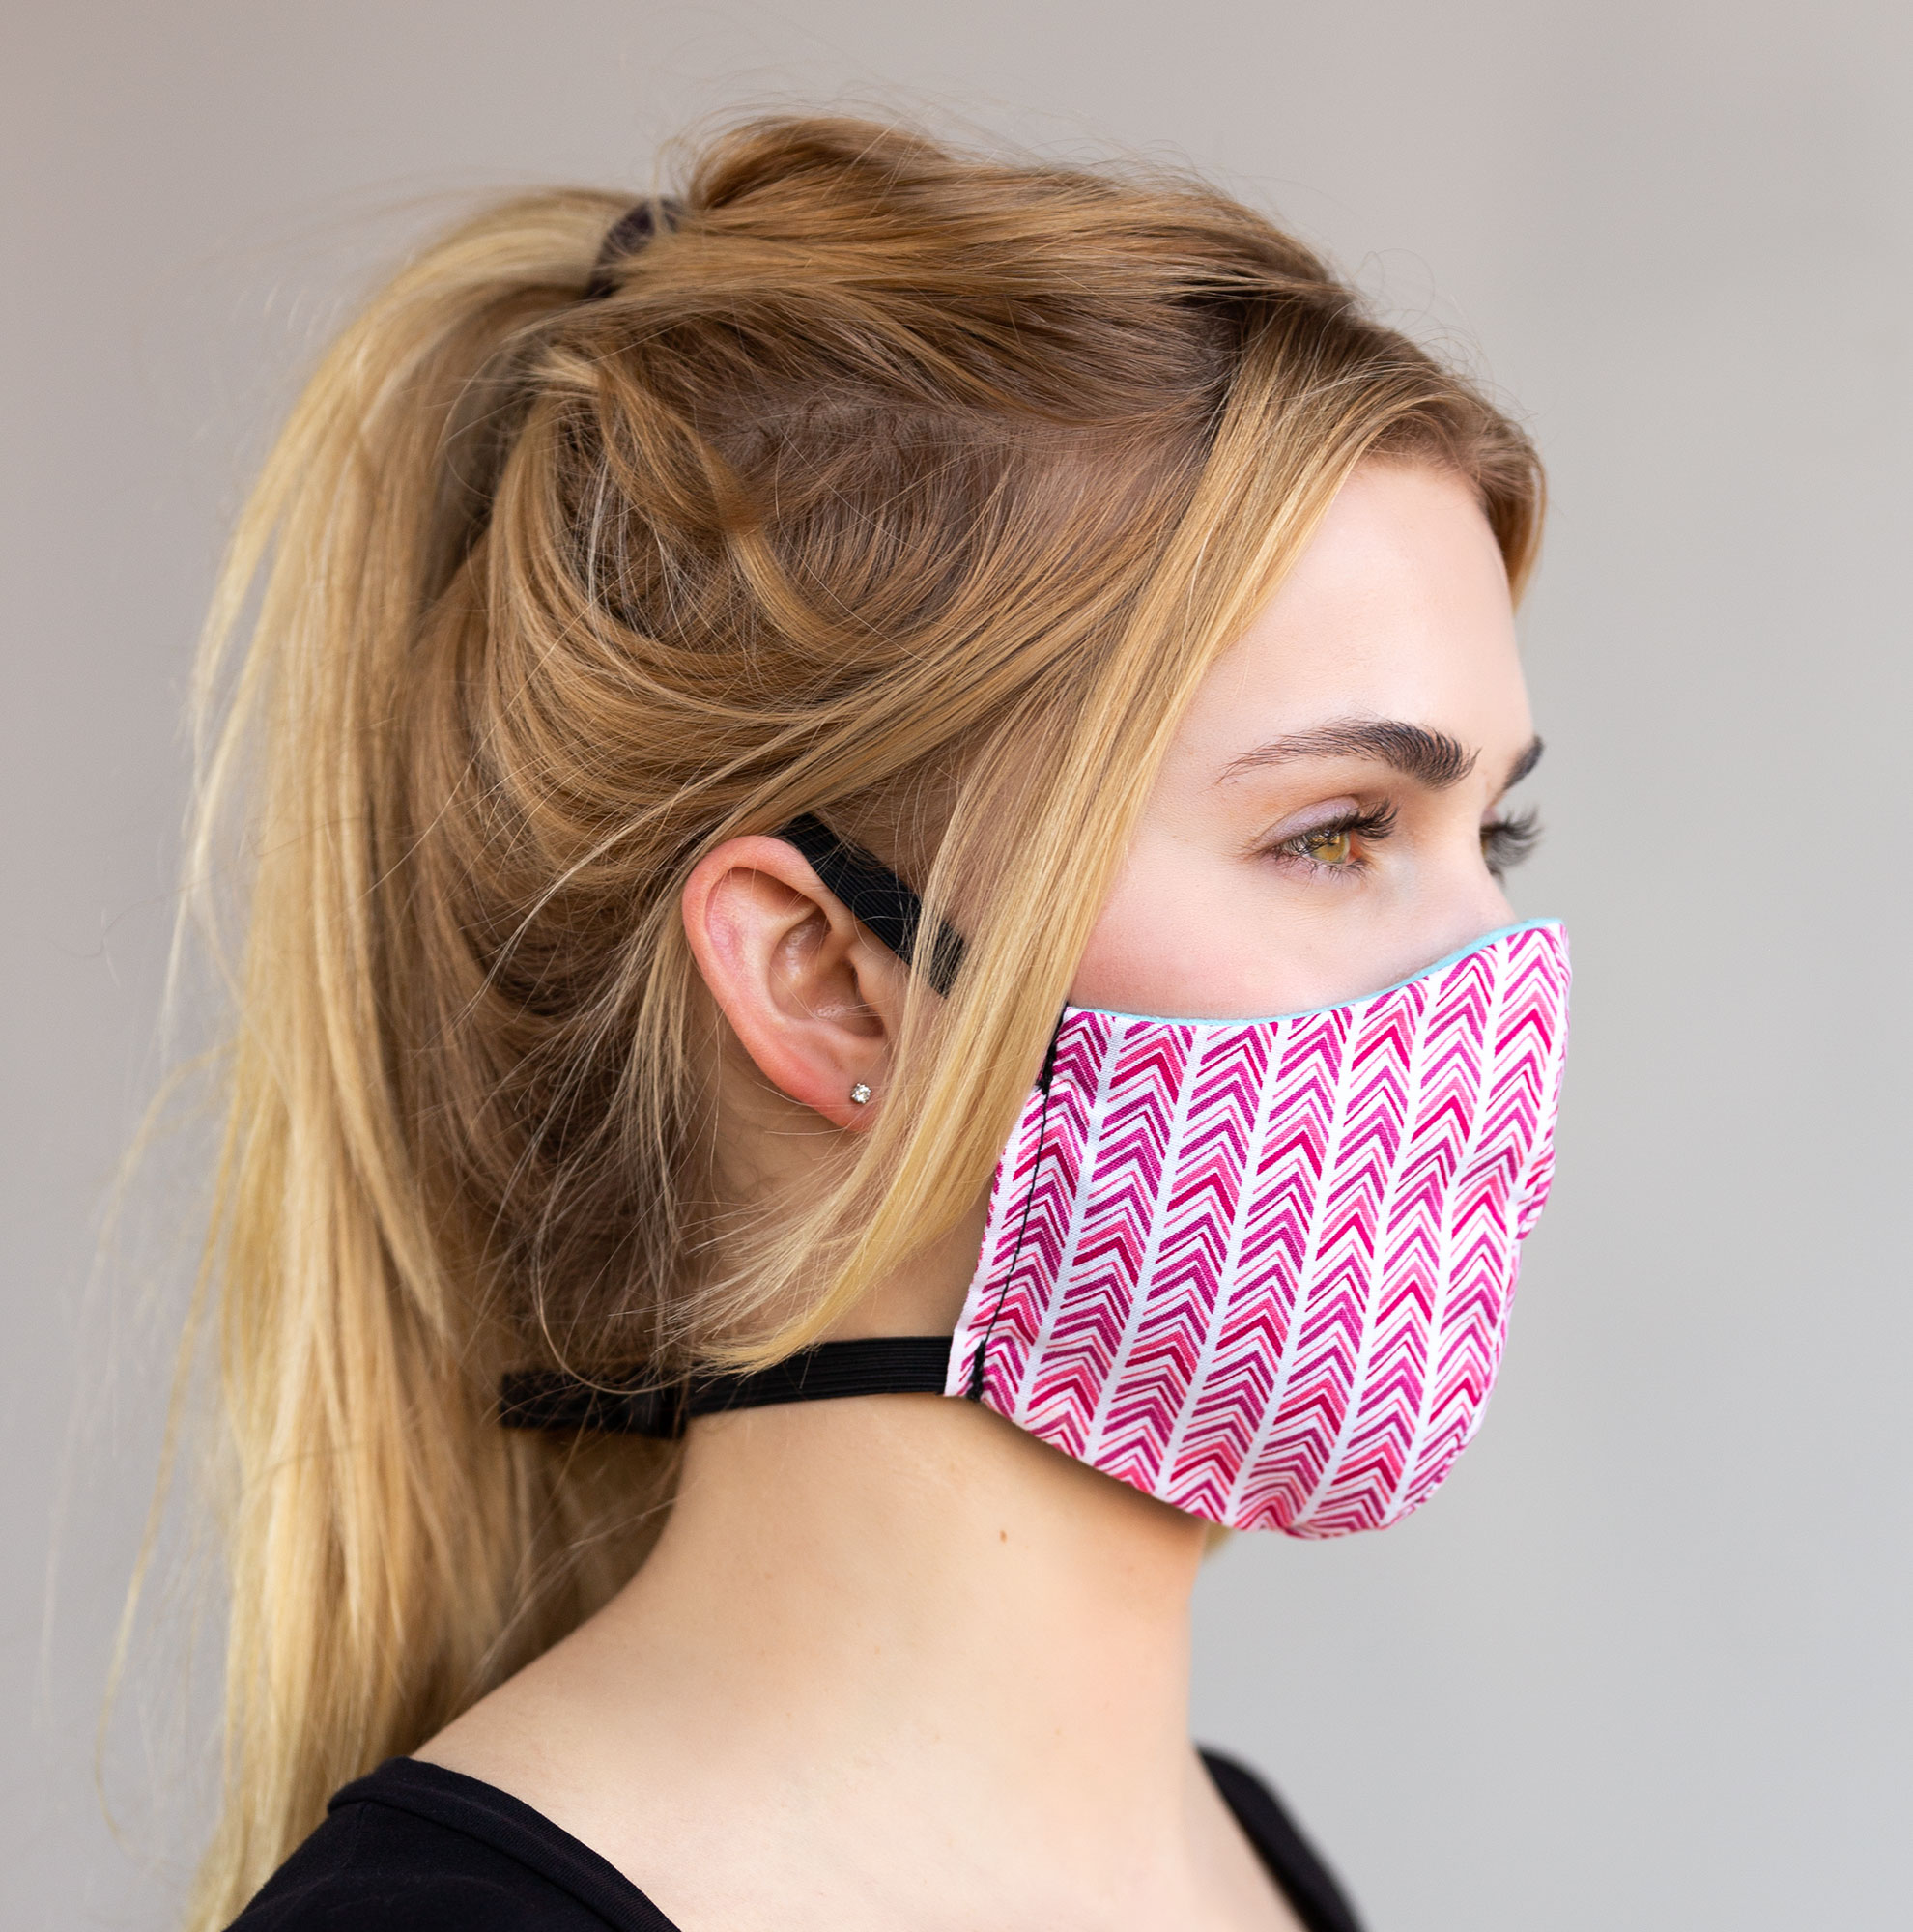
This type of hand-sewn, washable mask is now being used in hospitals across the country as there is a worldwide shortage of N95 masks. We make these masks in Chico, CA, and can be shipped to you. We are producing hundreds of units per day. Each quantity contains a case of 3 pieces.
Are they acceptable as Personal Protective Equipment (PPE)?
Fabric masks are CDC approved in the absence of N95 masks.
- CDC's new interim guidelines
- A study that found double layer cotton mask will stop 71% of the COVID-19 virus particles.
Government agencies asking businesses to make washable masks:
Assembly Instructions
Step 1: Cut out fabric panels using template.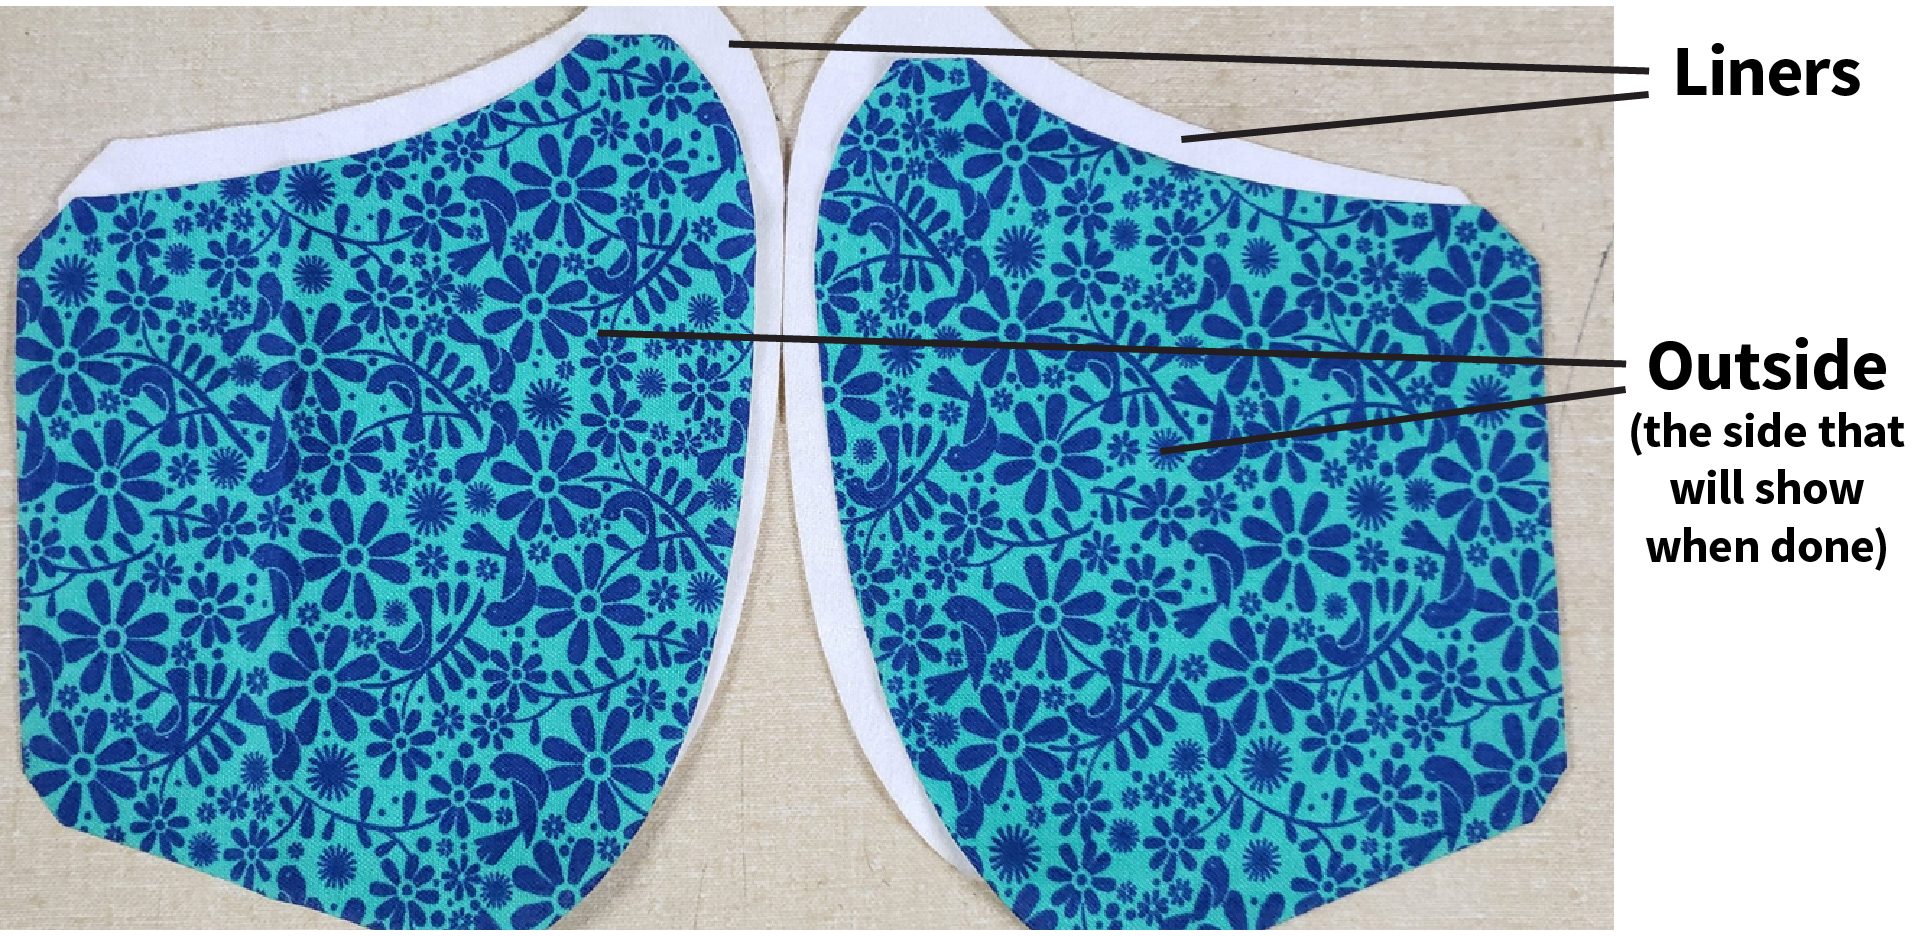
Sew face seam on outer fabric with print facing in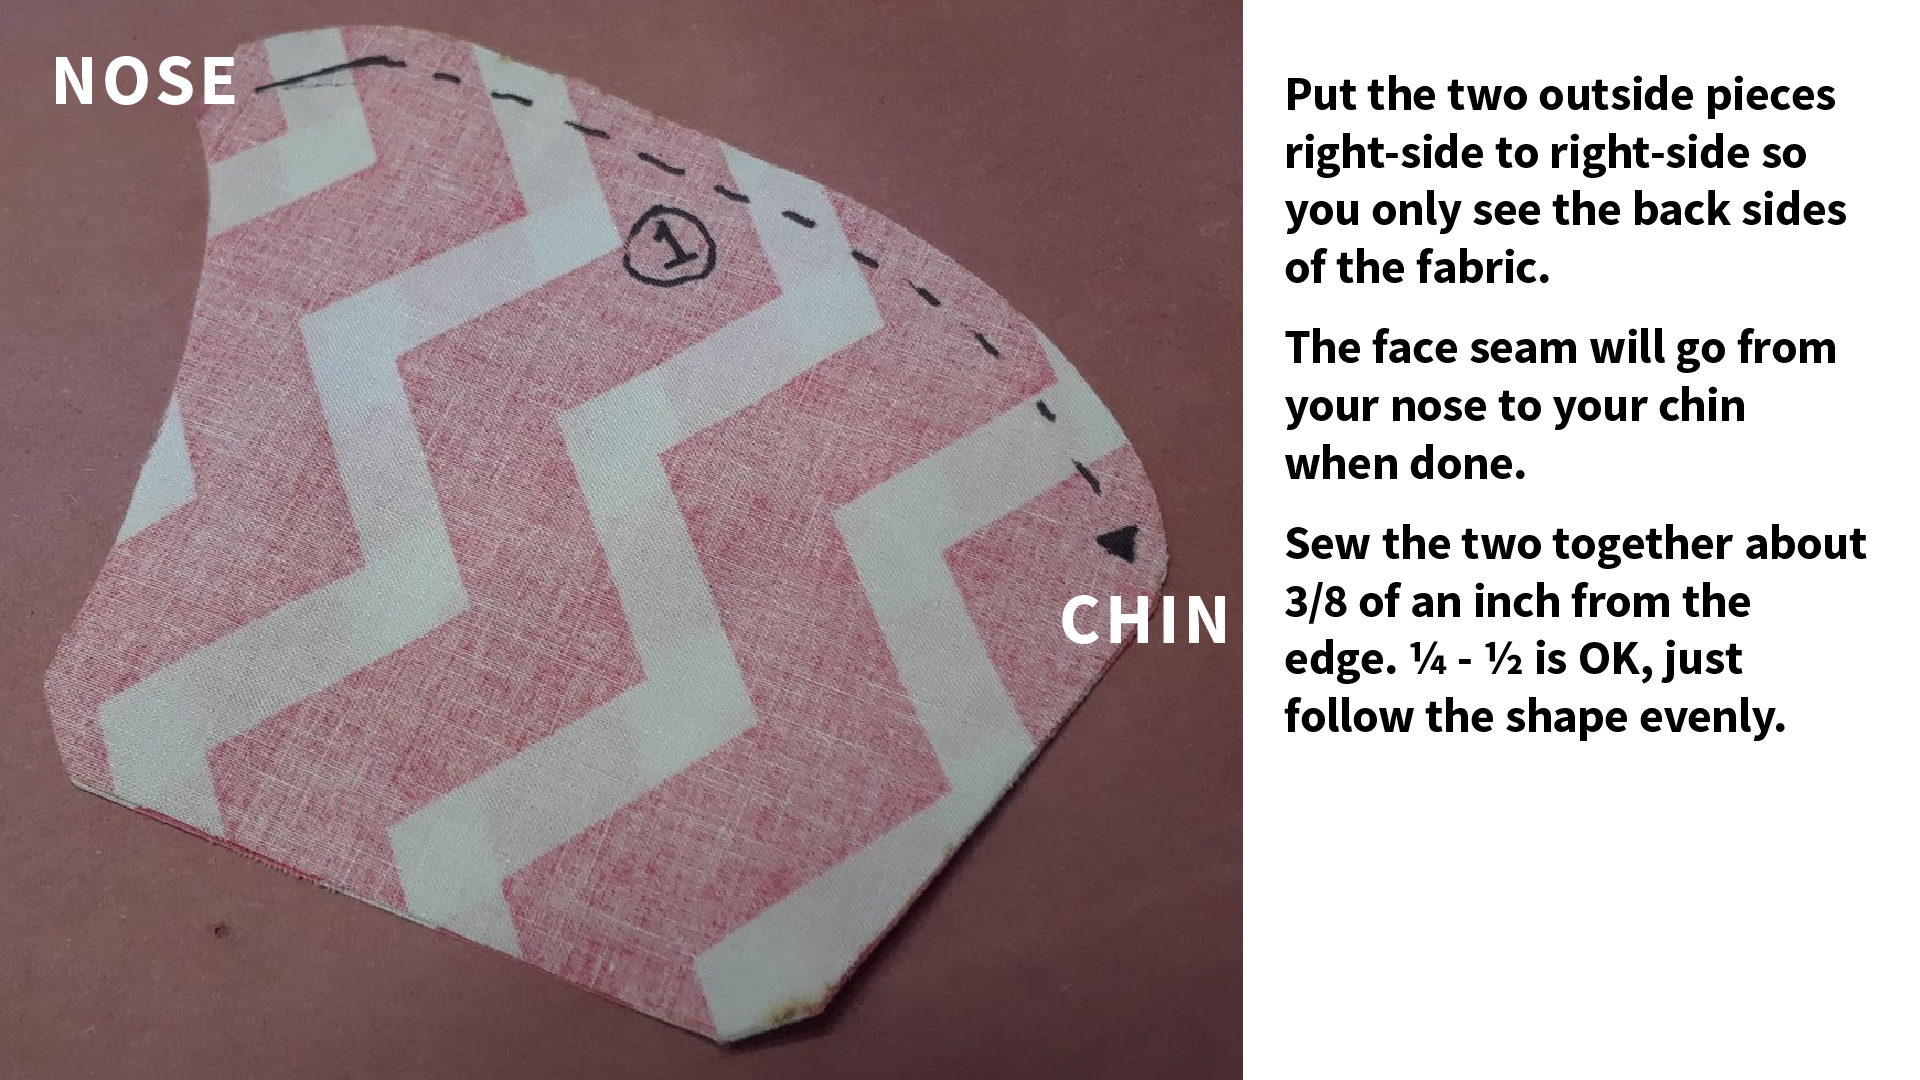
Step 2: Put the two liner pieces together. Sew face seam on liner fabric.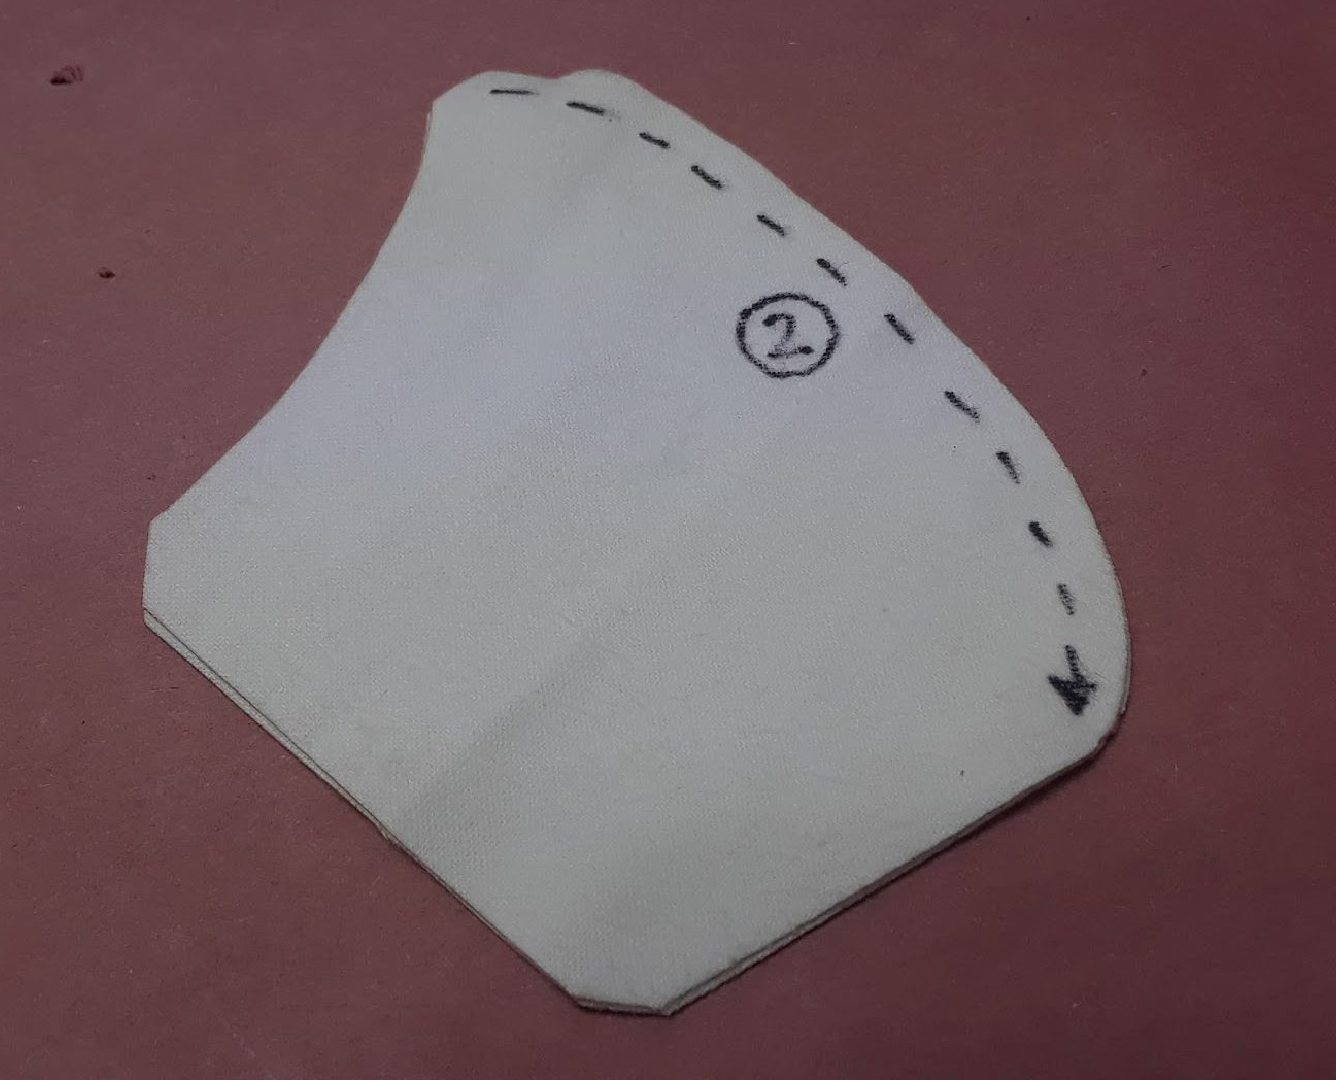
It will look like this:

Step 3: Spread the outside and the liner side open. Lay the outside face down onto the liner, matching the top edges to each other. Pin along the top edge and sew the liner and outer layers together about 3/8 of an inch from the edge along the nose seam.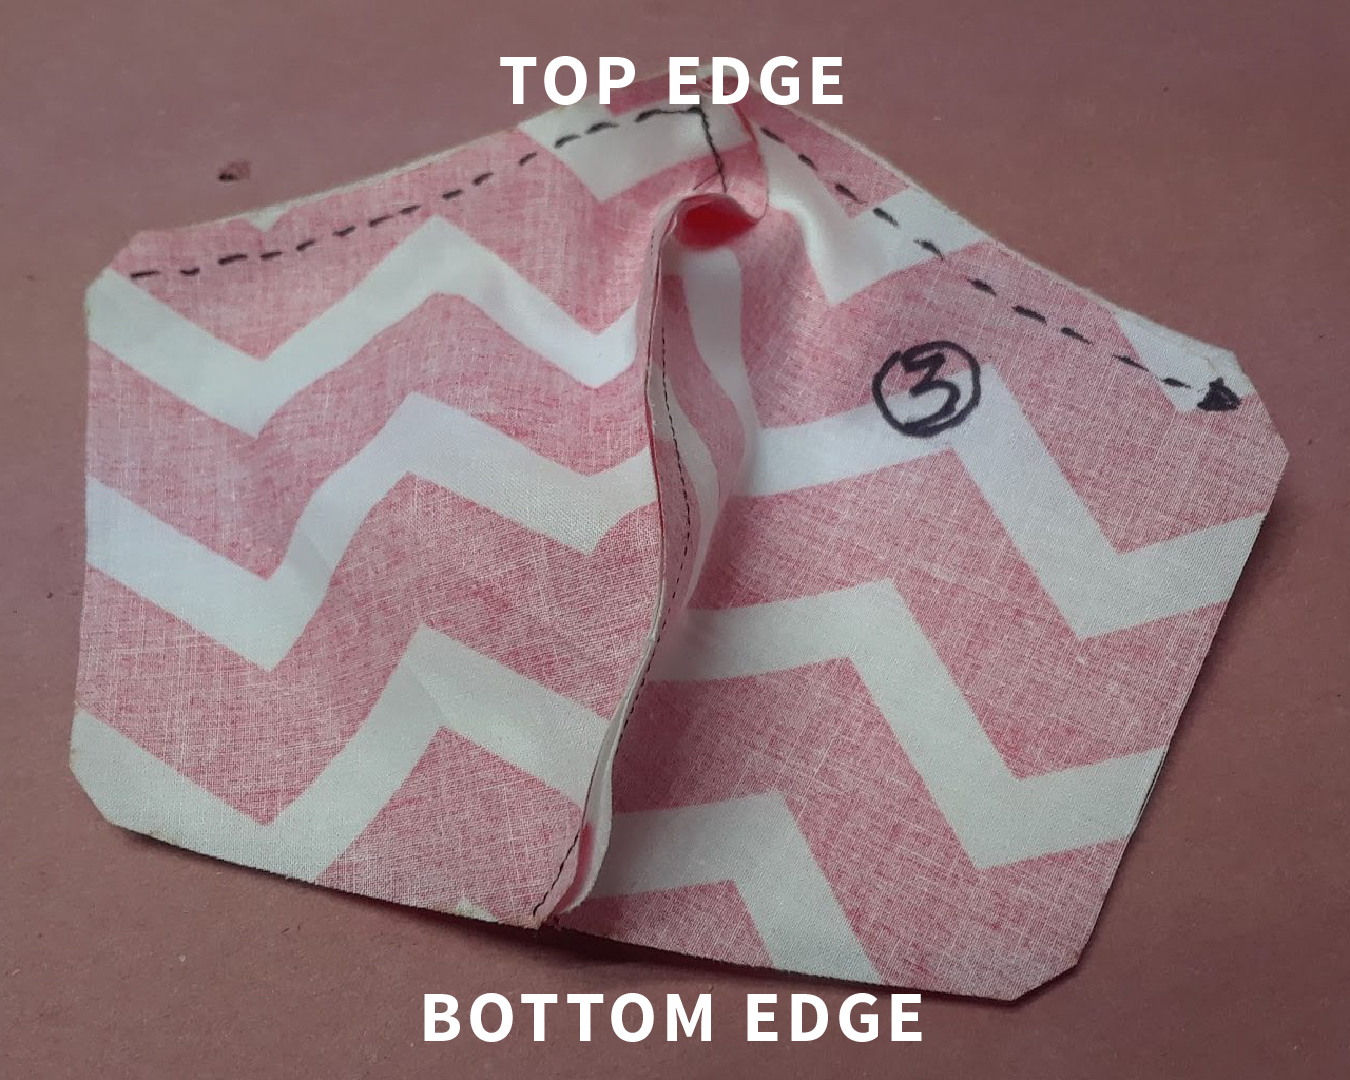


It will look like this: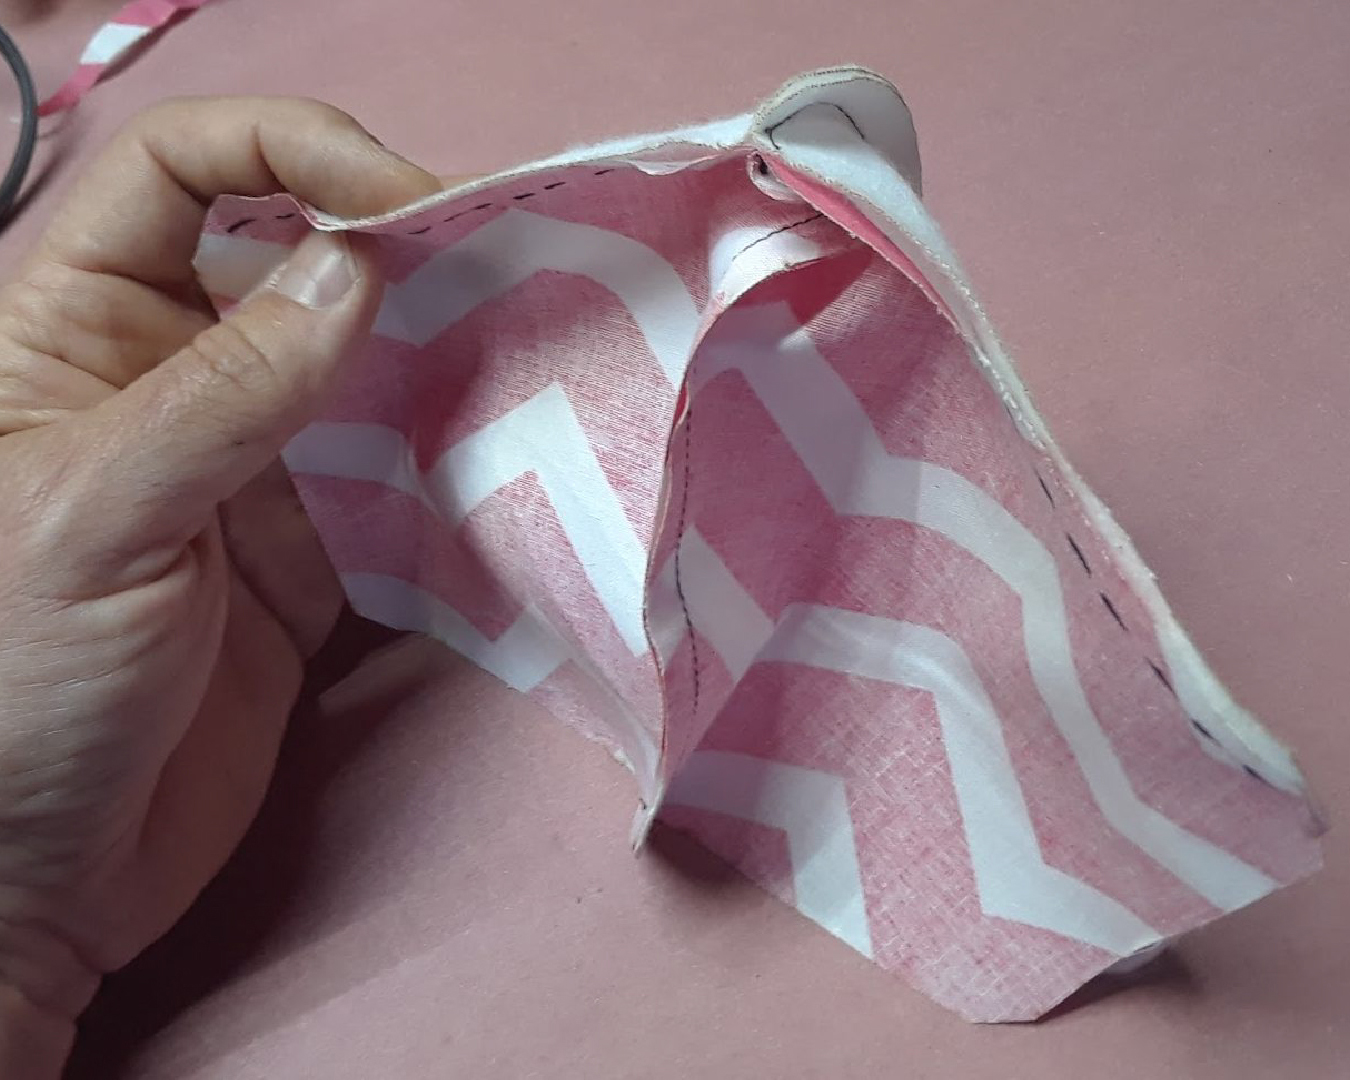
Step 4: Sew the liner and outer layers together along the chin (bottom) seam. Then you will have the top and bottom edges sewn together. Leave the two side edges open (don’t sew them yet)!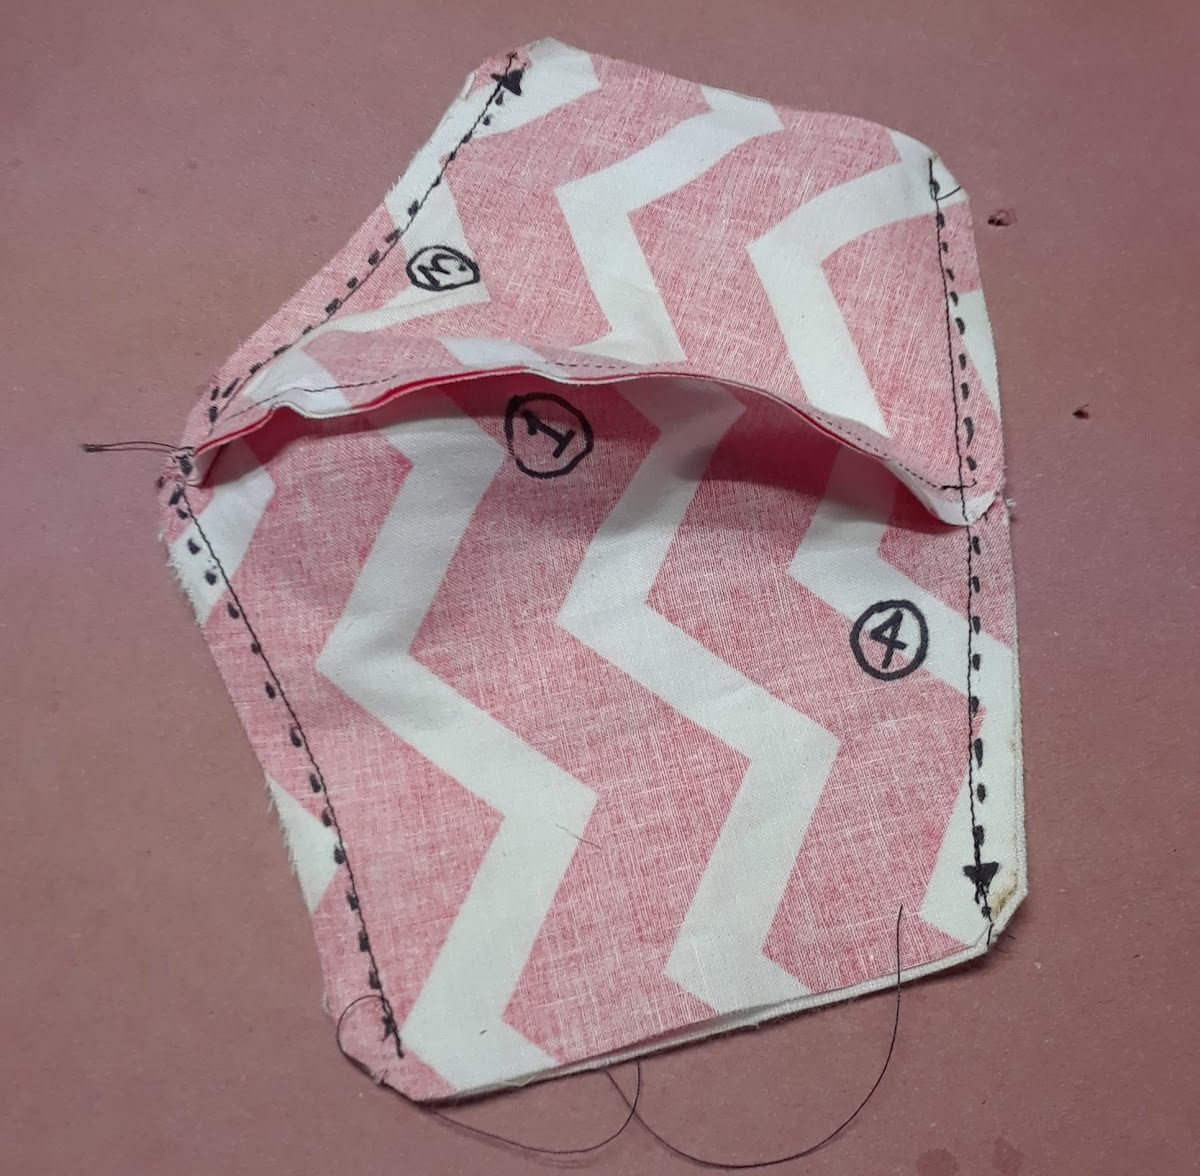

Step 5: Put one of the 7 inch elastic straps into the hole between the layers with the 2 ends barely sticking out to be sewn into seam number 5. This will make sense if you look ahead and read through the next couple of instructions to see what happens next.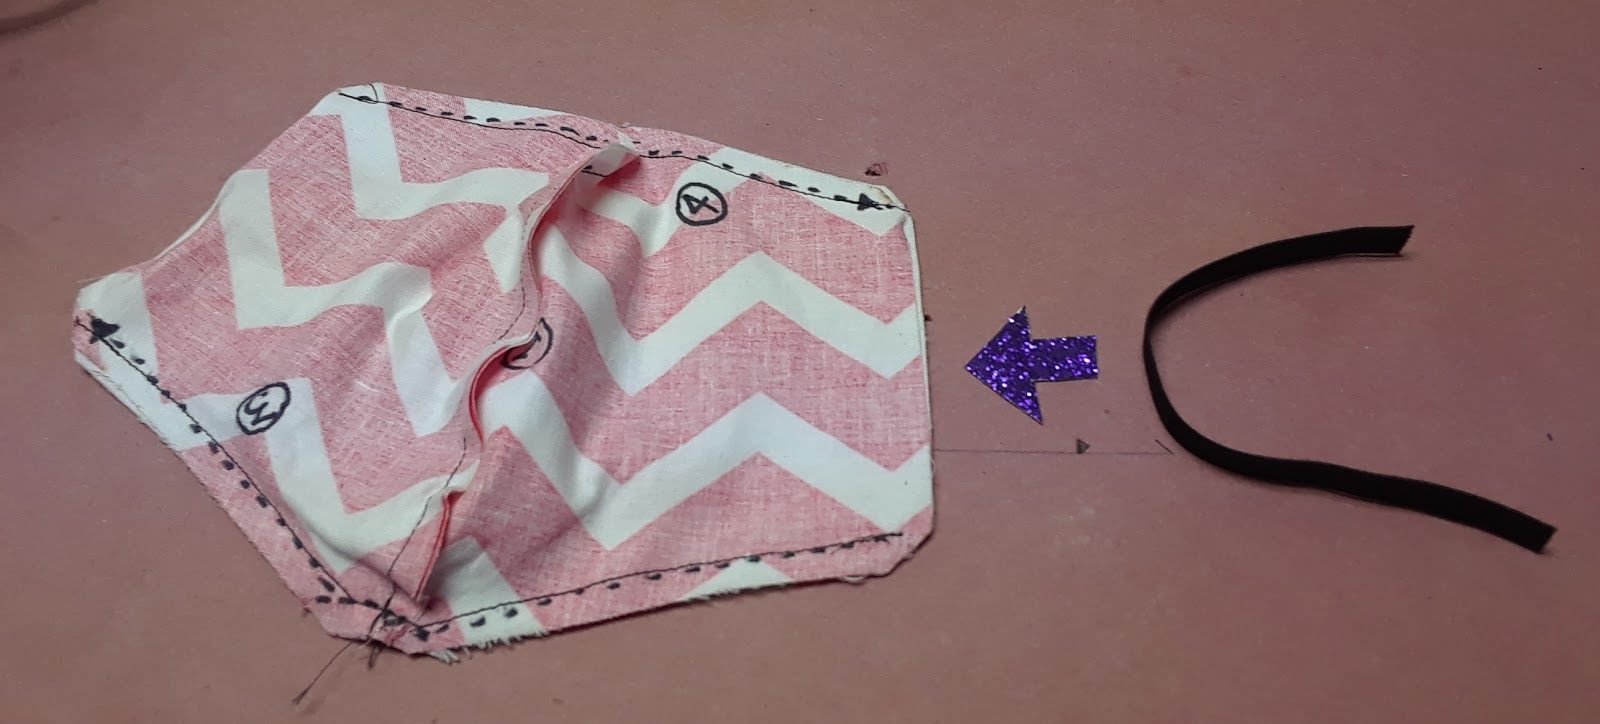

The first elastic gets sewn into seam 5. The red line in the picture below represents the elastic. Note the elastic is inside the mask at this point.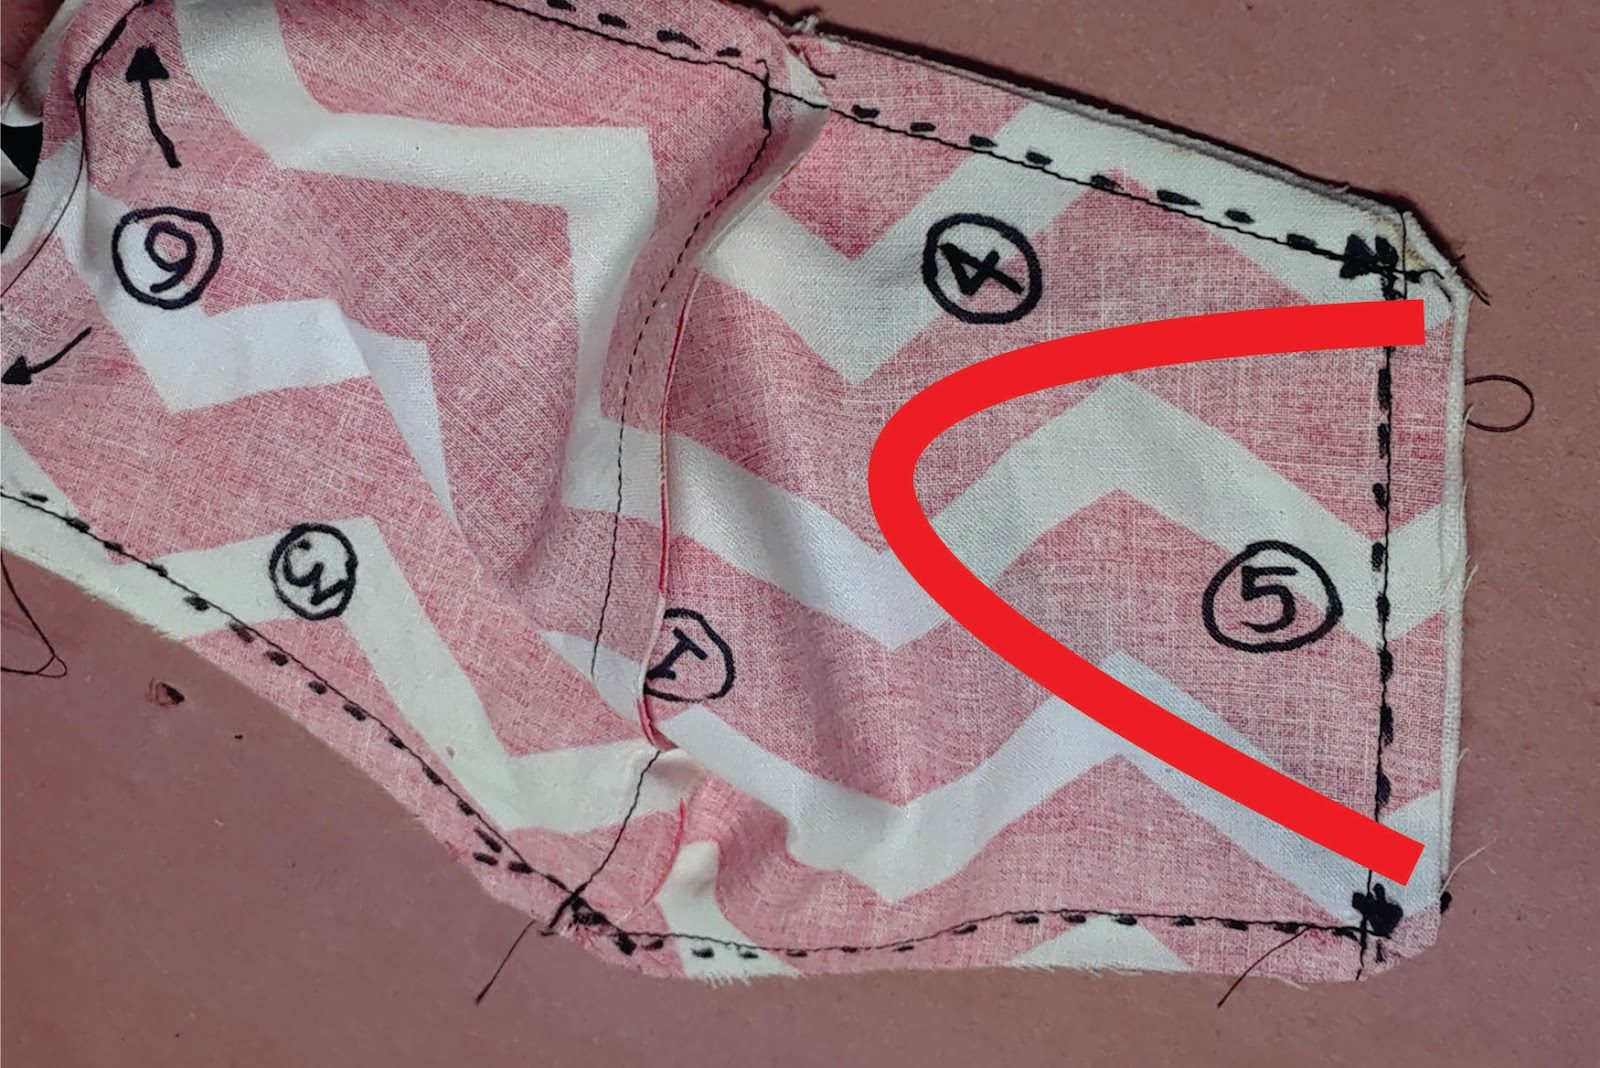

Step 6: You will sew this side seam (#6) differently than #5. Line up the second 7 inch elastic strap to be sewn into seam number 6, similar to seam number 5 but do not sew all the way down seam 6. Seam 6 is actually 2 separate seams, each securing one of ends of the second elastic, but leaving a gap (where the elastic strap is seen in the picture below). This gap is where the whole thing gets turned inside out, by pulling the inner contents in the direction of the arrow in the picture below.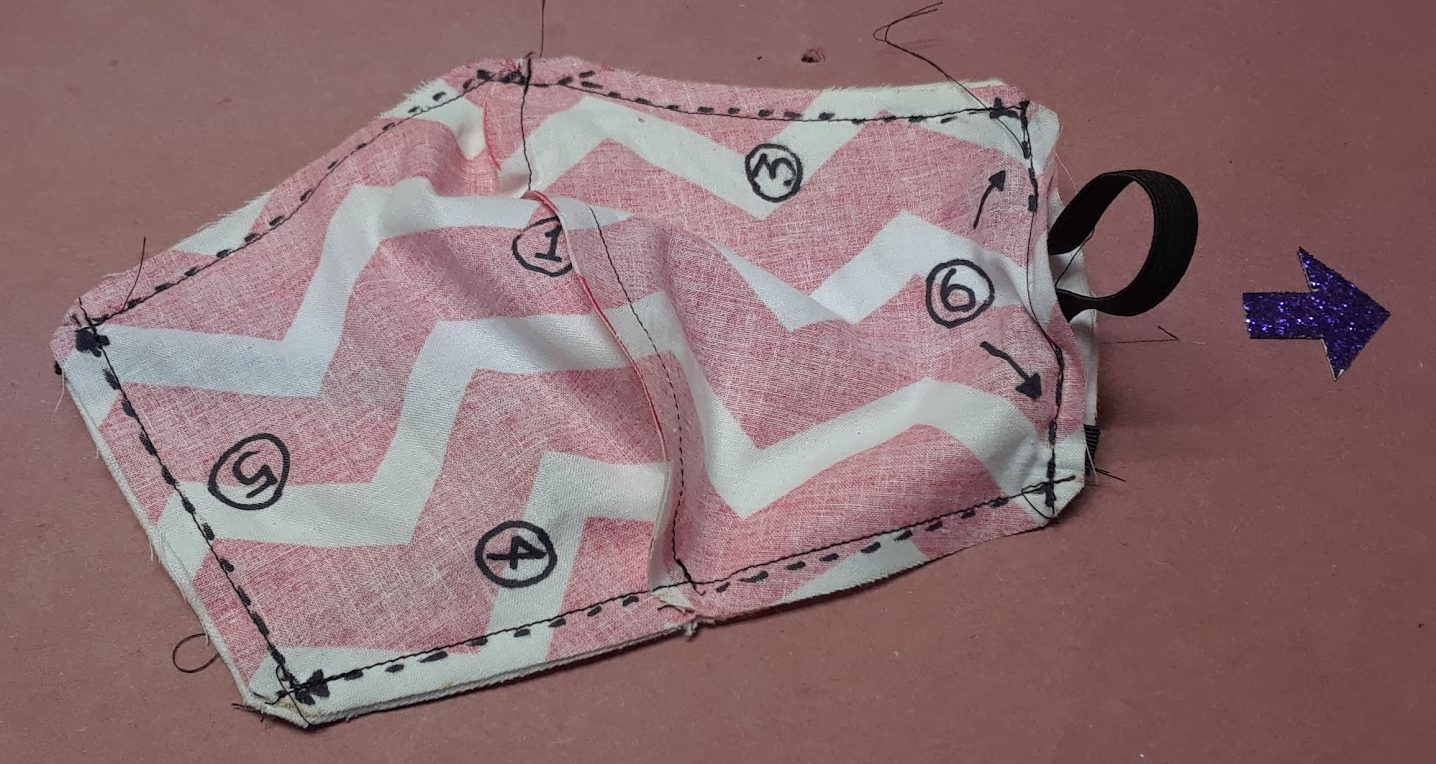

Step 7: Turn it inside-out. After turning it inside out completely and thoroughly, sew the gap closed to complete the mask. You're done!